You've no doubt seen how popular sparkler wedding exit photos have become. For that special send-off, many couples choose sparklers for the unique quality they add to their photos. While sparklers are a fun, vibrant addition to your wedding, they can be challenging to photograph. Overexposure and dimly lit subjects are just some of the problems you can encounter with sparkler wedding pictures.
To help you catch that perfect shot, we've collected some information about the variety of factors that go into photographing sparklers at a wedding. Keep reading to learn how to take sparkler pictures, the best settings for a sparkler send-off, photography tricks with sparklers and more.
Equipment Needed
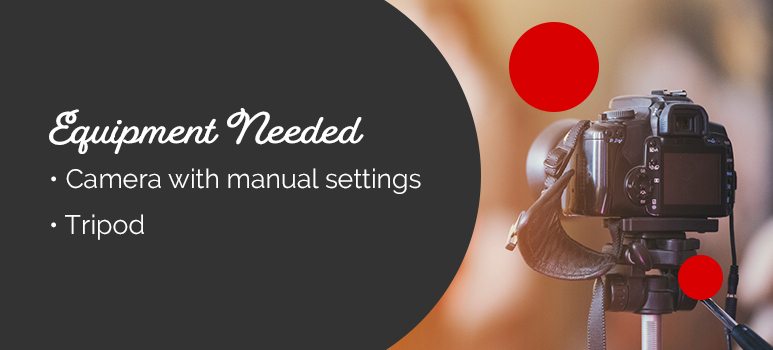
The manual settings will allow you to match your shutter speed, ISO and aperture to the environment. These settings are crucial to making sure the details come out and your sparkler light pops. Without adjusting these settings, you will get a photo that is underwhelming at the least. It may be dark, blurry or overexposed.
The other important aspect of sparkler photography is a tripod. Without a steady setup, your subjects will appear blurry. In sparkler photography, you have to use slow shutter speed to capture the light, which means that any movement will be extra noticeable. A tripod will keep your subjects where they need to be.
Camera Settings for the Best Sparkler Photos
When it comes to the camera settings for a sparkler send-off, there will be a lot of trial and error. Since sparkler lighting is so dependent on the ambient light, you'll have to coordinate them with each other. You can take sparkler photos during day or night, but it may take some practice to figure out how your settings should be. If you're not sure how to adjust these settings, check your camera's manual.
As a general rule of thumb, you'll want to shoot with more prolonged exposure and slow shutter speed. For portraits, try starting with an ISO of 400 to 1,000 depending on the light, an aperture of F/4 and a one- to two-second shutter. You'll need to ask your subject to stay still, but these settings are a good starting point. If you can bring down the shutter speed without sacrificing quality, do it. When you photograph the exit itself, you'll need to have as fast of a shutter speed as you can manage under the low light conditions. Again, experimentation is critical. You have a little more freedom with portraits since you aren't trying to keep up with any movement.
With some of the more modern developments, you can even take sparkler wedding photos with your phone. Some apps can do it, and newer Android cameras have a manual mode that allows you to adjust the settings. On the iPhone, you can take a live photo and add the long exposure effect for similar results.
Time of Day Matters
The time of day and the environment in which you take the photos is a significant factor in how the sparklers will appear. More importantly, they influence the settings that you need to put your camera on.
For your standard sparkler shots at night, make sure there are no harsh lights in the way. Any lights from traffic, houses or street lamps will be exaggerated in the photos and take away from the sparklers. Extra light can allow you to see the guests more clearly, but be sure it is soft, diffused light that doesn't detract from the sparklers.
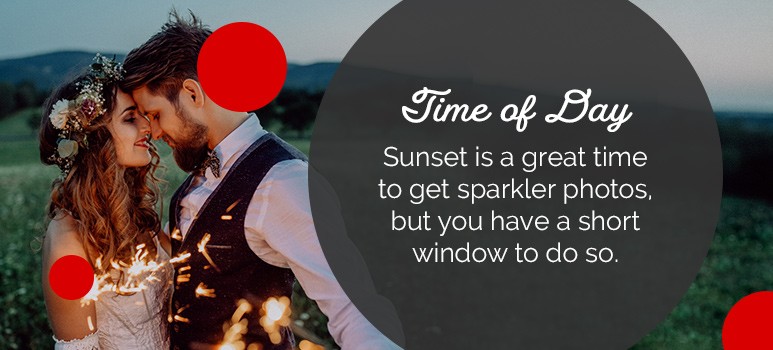
Sunset is a great time to get sparkler photos, but you have a short window to do so. The light is low enough that you get the warm glow from the sparklers but bright enough that you see your subjects and the background. You may need to decrease the ISO or aperture to adjust for the extra light. For sunset photos, adjusting the aperture can help you achieve interesting depth-of-field effects, like blurring the sparkler and focusing on your subject or vice versa.
Sparklers look beautiful during the day, as well. They are bright enough to show up, and you get to see the smiling faces of the wedding guests as well. Using them in shady areas is a great way to still enjoy the warm light they emit.
Best Sparklers for Wedding Sparkler Send-Off
When it comes to choosing your sparklers, think about the setup you'll have. Will it be during the day, at night or dusk? Will you be running through the send-off, or will you stop for some poses? Do you want to do other portraits as well? All of these are factors to consider when choosing your sparklers.
One of the most popular options is to use long, 36-inch sparklers. These sparklers usually have a lengthy three-minute burn time, making them perfect for getting just the right shot. They are long enough that they drape over the scene, separating them from the crowd and spreading their ambient light all over.
Shorter sparklers, such as our 10-inch sparklers, are better for portraits or other photos that get closer to the couple. With these, you can get more of the subject in the picture. There are also other shape options here, such as hearts and stars, for a particularly unique display.
Whatever sparklers you choose to use, make sure you buy them from a reputable seller with plenty of satisfied clients, like Sparklers.us.
Practice Makes Perfect
Practice can be your biggest asset when it comes to taking sparkler photos. Some cameras respond differently to low-light situations, and understanding yours is the best way to know what settings to use. By practicing before the big day, you ensure that you don't miss the shot. Instead of fumbling with your settings or taking underexposed photos, you can focus on the action. When you practice, you master the lighting and focus on other aspects, like composition and movement.
Try recreating the lighting as best you can. Work at the same time of day and with similar lighting challenges until you know the process inside and out.
One fun method that some couples like to do is "painting" with the sparklers. For this activity, you'll need much longer shutter speeds, but you can probably keep the ISO around 400. Shutter speeds can be anywhere from a fraction of a second to half a minute, depending on the complexity of the design and how you want the subject to appear. More elaborate designs require longer shutter speeds and blur your subject more. If you are photographing this, be sure to practice beforehand, so you don't waste precious time doing trial-and-error on your couple's hectic day.
Spark Your Creativity for a Quality Send-Off
When you photograph someone's big day, there is a lot of pressure to get it done right. Whether you're a wedding photographer or a good friend with a camera, if you'll be photographing sparklers at a wedding, be sure to follow these steps for beautiful pictures.
Don't forget to purchase the best products for the job, either. At Sparklers.us, we have a wide variety of sparklers to help you bring your vision to life. From 10-inch sparklers to heart-shaped ones, we can deliver quality products for a quality photo. Look through our collection of wedding sparklers to see how they can take your sparkler wedding pictures to the next level.